fbpx

LIFESTYLE

How To Make Natural Easter Egg Dye

before you start...

Before starting the dying process you will need to cook your eggs  – this is optional and you could use fresh eggs but I find that it is actually easier to handle the eggs when cooked, plus it will be easier to preserve them as you can keep hard boiled eggs in a fridge for up to one week.

I also recommend to make sure you are ready for the dying process. This process can be messy and stain surfaces and tools – so make sure you use metal as much as possible as it can be easily cleaned, and lay newspaper or any other covering for your surfaces.

  • Prep Time15 min
  • Cook Time15 min
  • Total Time30 min
  • Ready in5 hours
  • Serving Size9

    Ingredients

    • 9 Hard Boiled Eggs
    • 1 Pair of tights
    • Fresh leaves & flowers of your choice (I used Dandelions & Cow Parsley leaves form the garden!)

    DARK DYE:

    • 1/2 Cup of Hibiscus
    • Tap water
    • 1 Tbsp. white vinegar

    YELLOW DYE:

    • 2 Tbsp. Turmeric
    • Tap water
    • 1 Tbsp. white vinegar

    BROWN DYE:

    • 1/4 cup of dried or 1/2 cup of fresh Elderberries
    • Tap water
    • 1 Tbsp. White vinegar

    Method

    1

    DARK EGG DYE:

    • Fill a medium saucepan with water, add the hibiscus and boil for 15 minutes. Stir in vinegar. Your dye is ready to use.
    2

    YELLOW EGG DYE:

    • Fill a medium saucepan with water, add the turmeric and boil for 15 minutes. Stir in vinegar. Your dye is ready to use.
    3

    BROWN EGG DYE:

    • Fill a medium saucepan with water, add the elderberries and boil for 15 minutes. Stir in vinegar. Your dye is ready to use.

    FINISHING THE PROCESS

    4

    Take a pair of tights and cut strips of about 10 cm . This is what you’ll be using to tie the eggs in.

    5

    Take an egg moisten the area you are going to put the leaf on to act as a “glue”, put a leaf or flower on it (Put it face down), wrap it tightly and make a tight knot.

    6

    Take each pan off the heat and add 3 eggs per pan – ( you could transfer the dye liquid in a glass jar if you prefer but I left mine in the pans).

    7

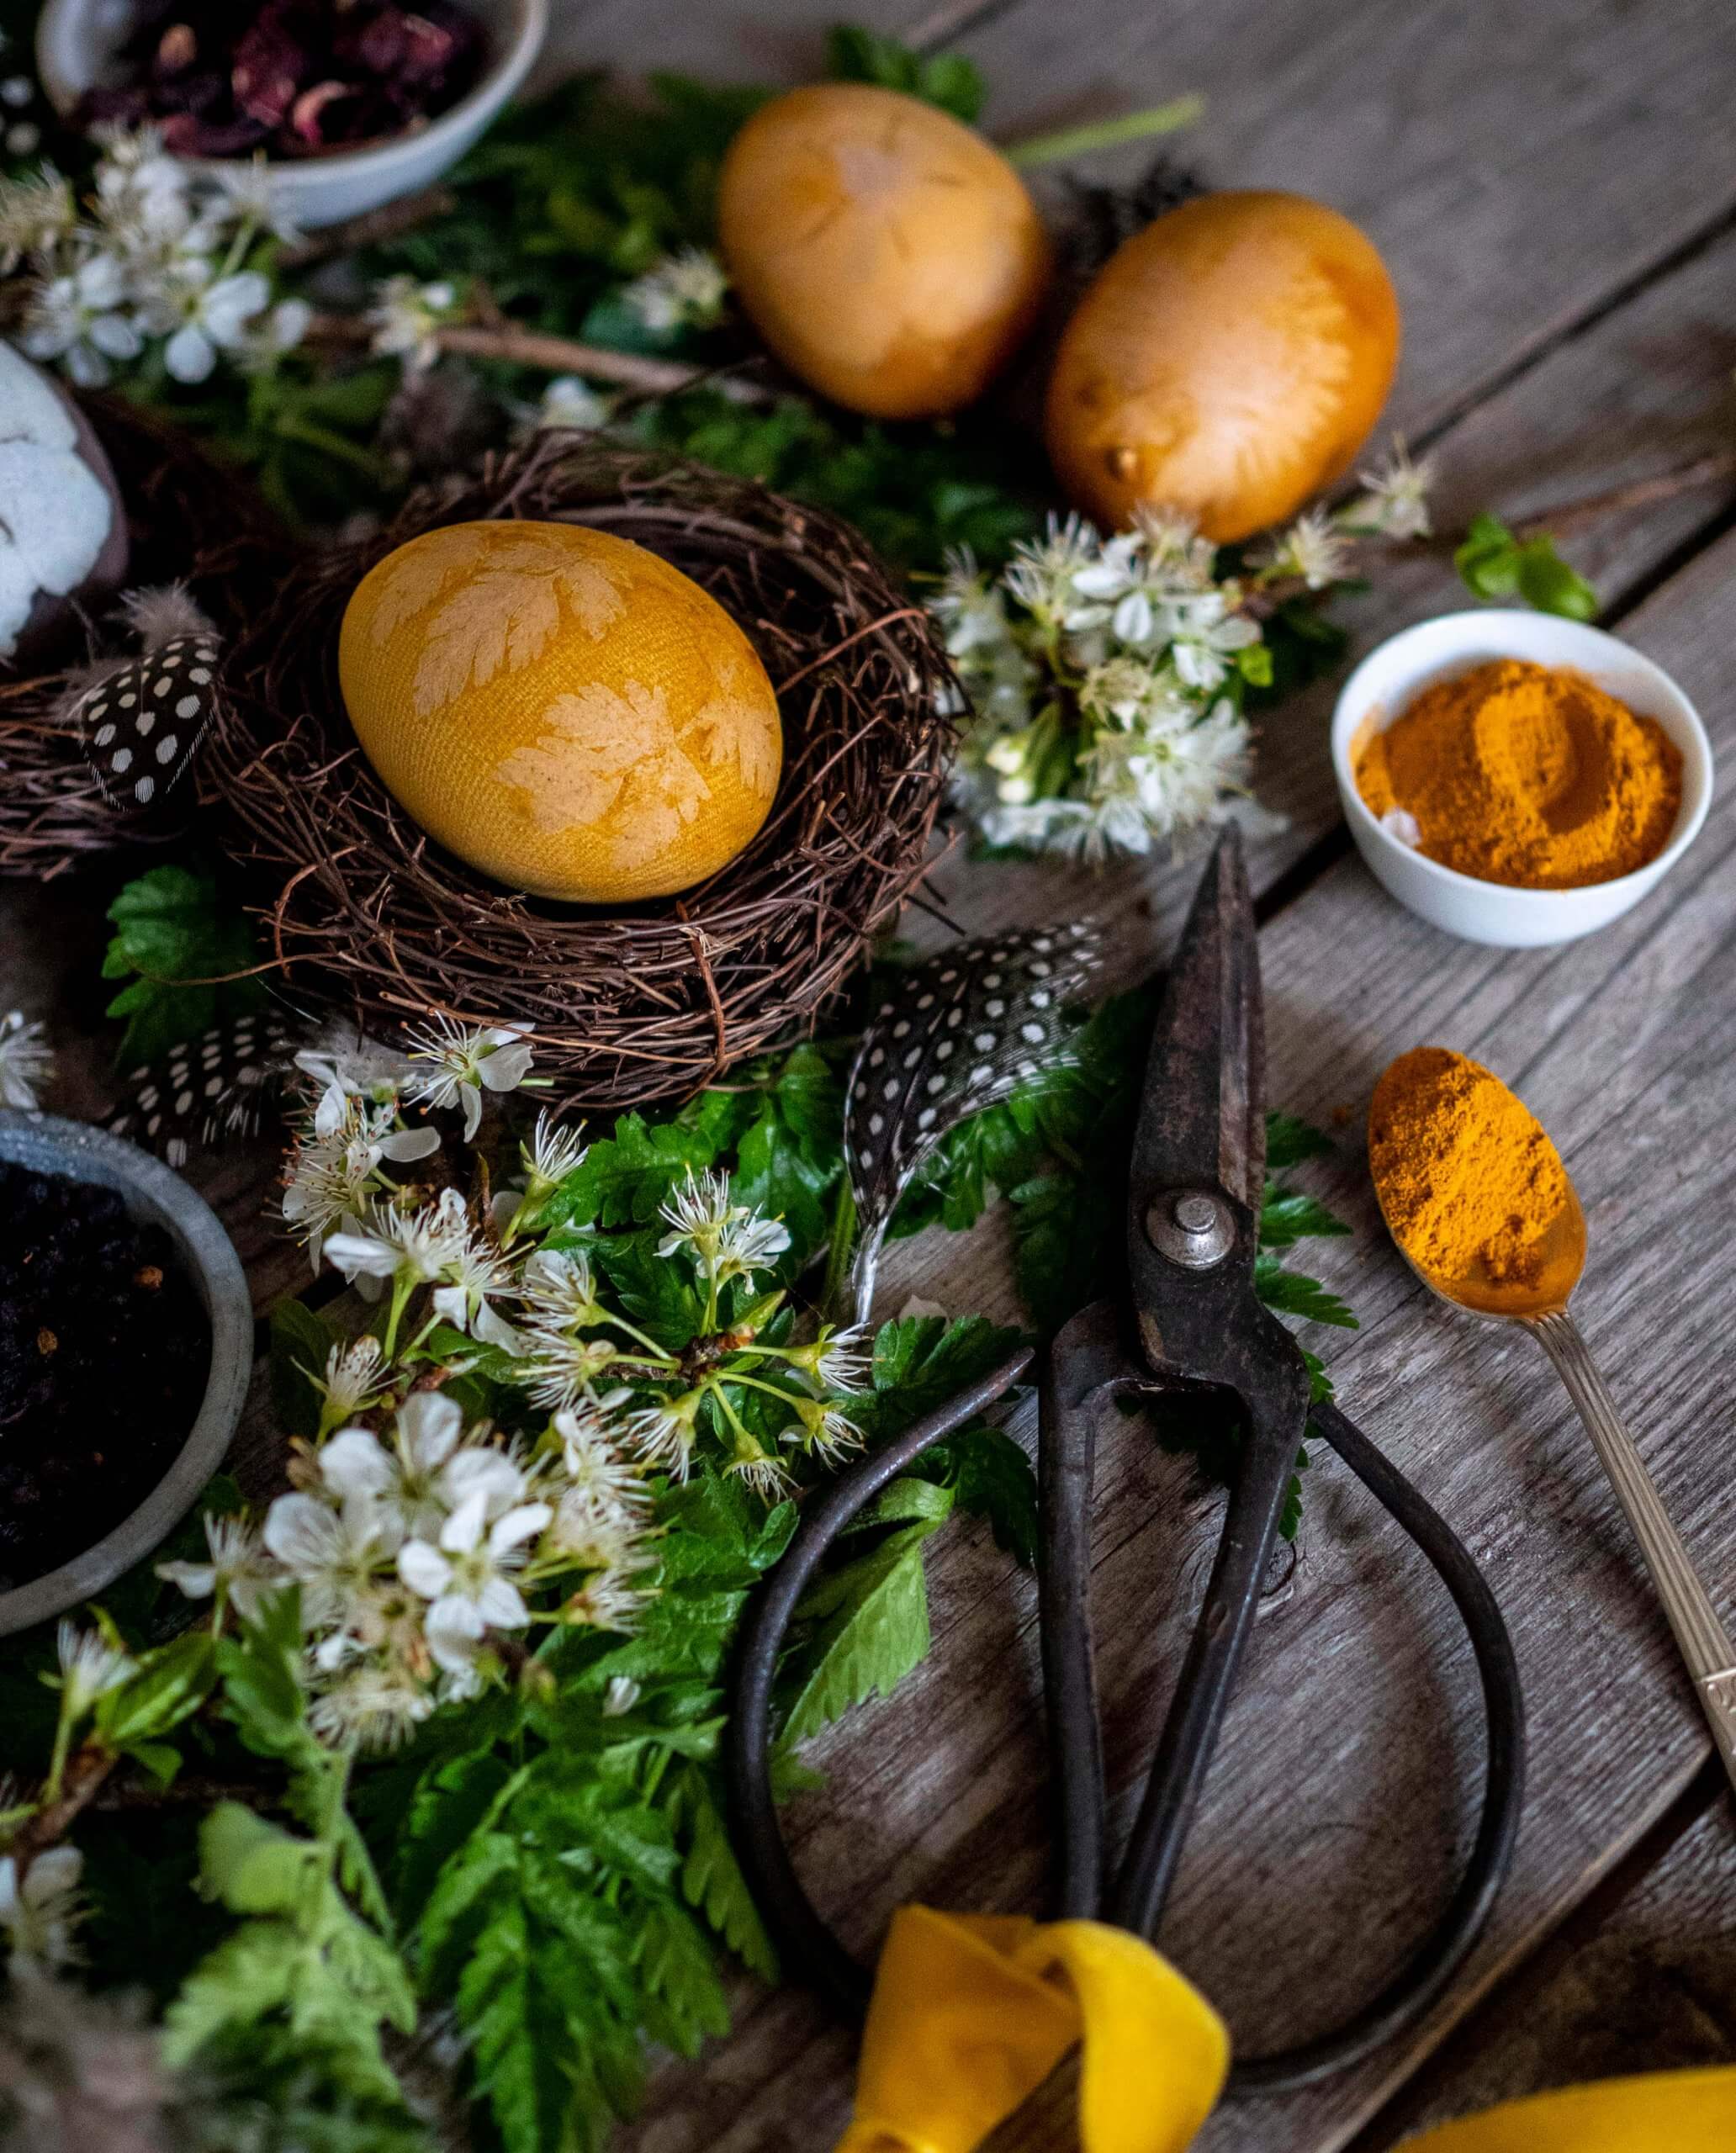
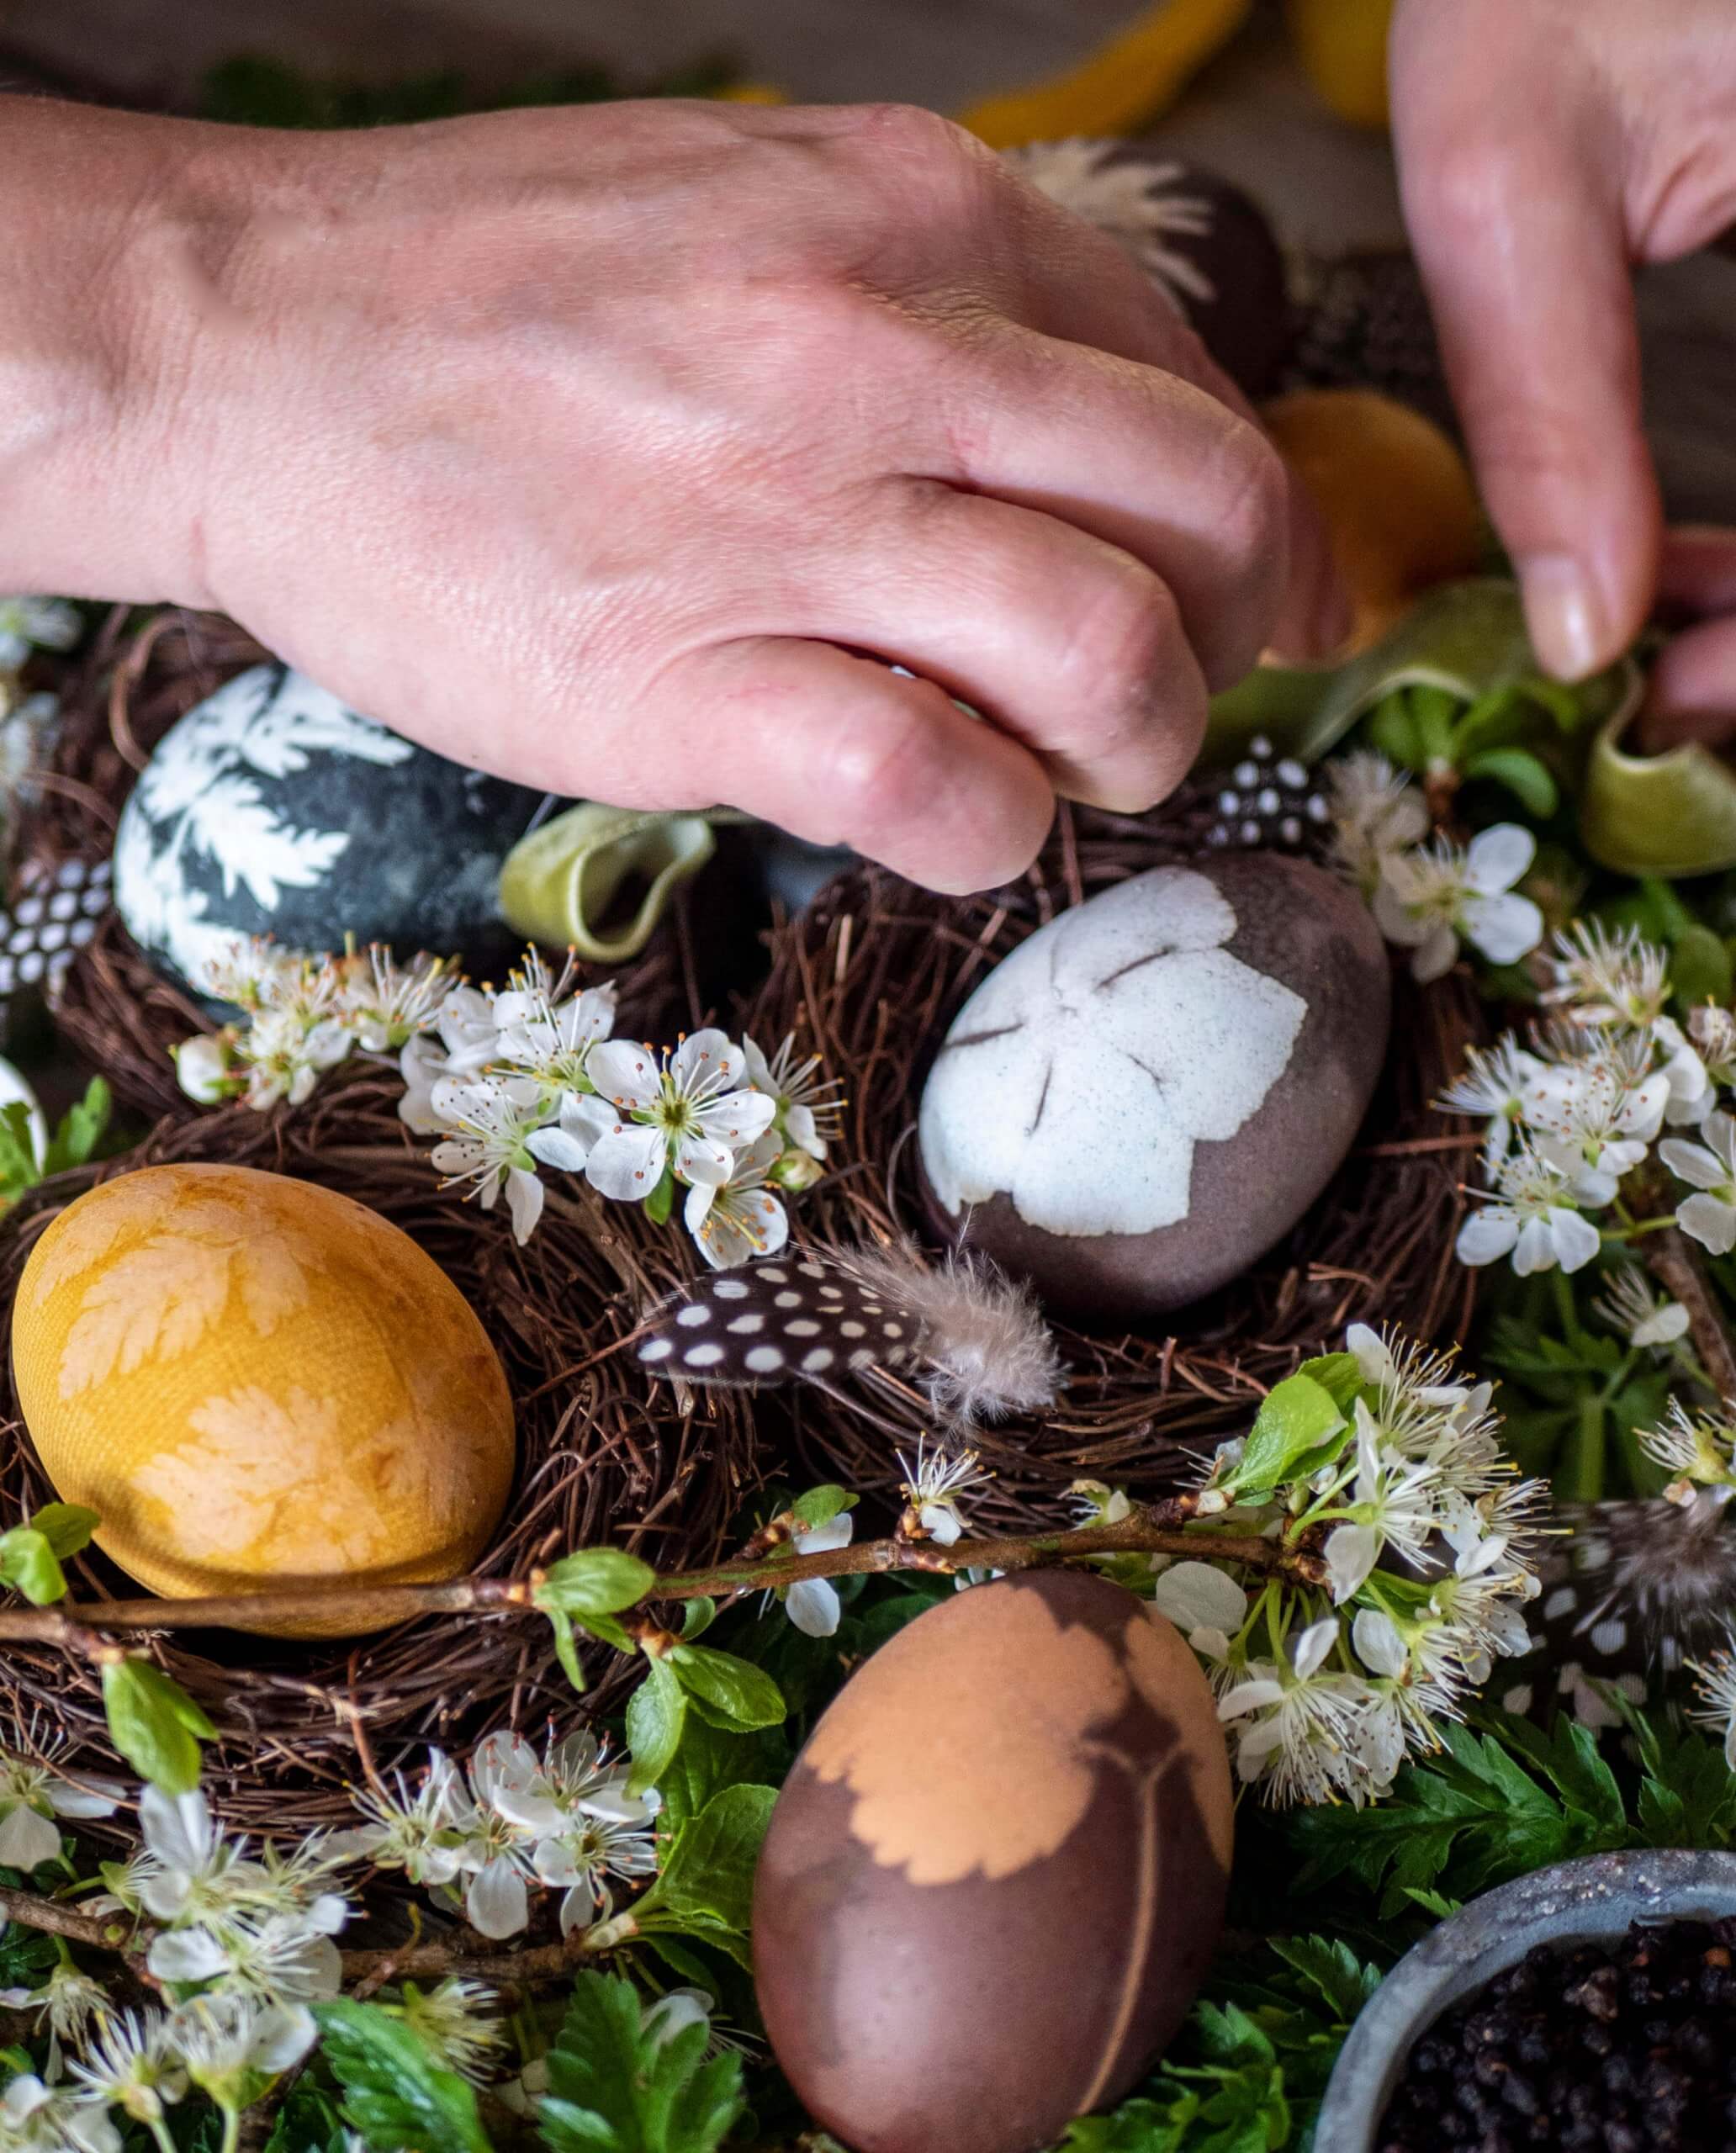
    Let sit for 30 minutes to 5 hours depending on how strong you would like your eggs’ shade to be – I left mine 5 hours as I wanted a deep colouration. Check the eggs every 15 minutes to make sure that they are all still submerged, at this stage you might need to turn them around with metallic tongues.

    8

    Using a slotted spoon, carefully remove the eggs from the dye and set them in a shallow bowl lined with kitchen towel to absorb any of the excess dye.

    9

    Keep your eggs in the refrigerator just as you would any hard-boiled eggs! And enjoy – Happy Easter!!!

    Enjoy… Bon appetit!  ♥♥♥

    "That is one good thing about this world...there are always sure to be more springs."

    Happy Easter
    & Joyeuses Pâques

    You might also like...

    March 30, 2020